Embrace Your Inner Warrior
 January 28, 2023
 0
0
 0
0

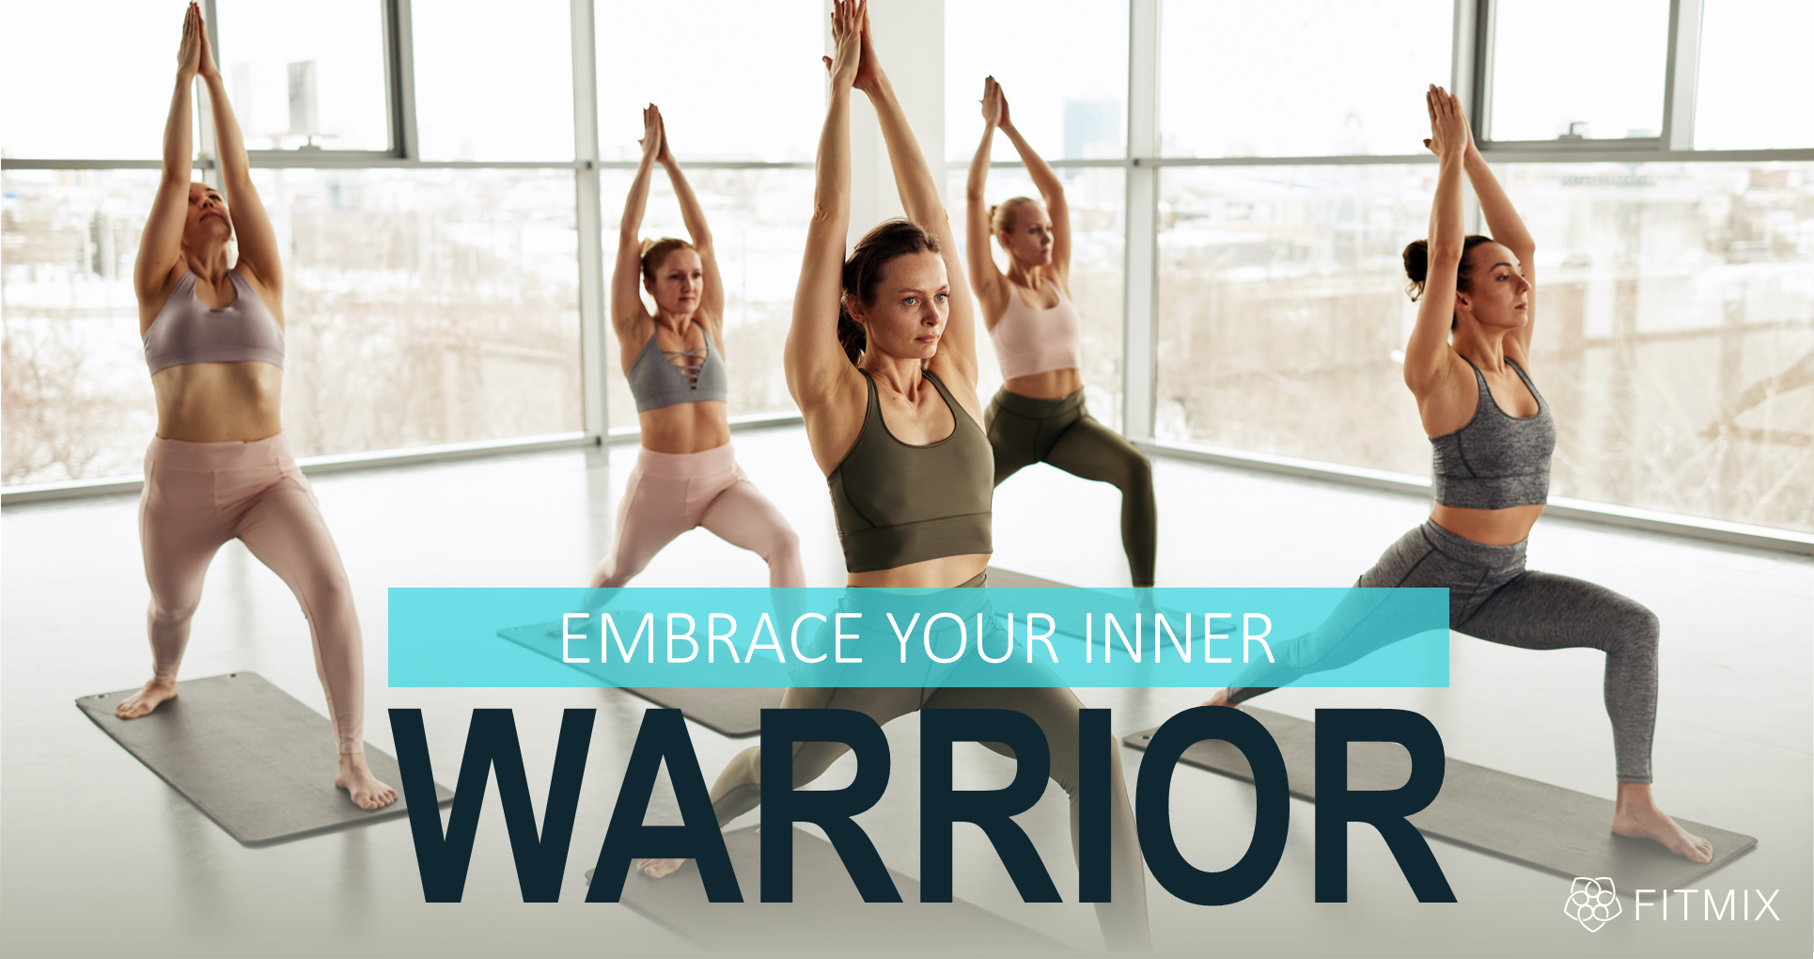
If you’ve ever completed a yoga class of any difficulty
level, you’re undoubtedly familiar with the warrior series.
In this post, we’ll dive deeply into the warrior poses characteristic of nearly all types of yoga.
Warrior I-V
Most yogis incorporate 5 different warrior moves into their
practice. Each one of these poses has specific considerations and emphasizes
different muscles. Let’s look at each of the warrior poses in order.
Warrior I
Warrior I incorporates a lunge with a high, extended reach.
To perform this movement, you’ll place one foot in front of the other, bend the front knee and reach the arms toward the sky as you extend your spine backward.
This pose incorporates isometric strengthening of the glutes
and quads while also stretching out various muscles of the trunk, hips, and
lower limbs.
Warrior II
Much like Warrior I, Warrior II also utilizes a lunge motion
as a primary component of the pose.
Warrior II requires the practitioner to assume a lunge with
the arms in a straight line, parallel to the ground. Compared to Warrior I,
where the hips and trunk are lined up toward the front leg, Warrior II requires
you to square your hips more to the center of your body. For instance, if you
are transitioning from Warrior I to Warrior II, and your right leg is in front,
you’ll need to rotate your trunk and hips to the left as you move into Warrior
II.
This Warrior pose accomplishes the same goals as Warrior I, with slight differences due to the trunk and arm positions.
Warrior III
Warrior III “breaks the mold” set by the first two Warrior
poses.
This Warrior pose requires significant balance, as it is performed on one leg. To complete Warrior III, you’ll shift your weight onto one leg as you bend at your waist and extend your arms forward. While in the Warrior III pose, you should be able to draw a straight line from your straight back leg, which is elevated off of the ground, and your fingertips, which are reaching forward, over your head.
Because of the extra balance demands inherent in Warrior III, you get nice activation of the muscles in your feet. This helps to combat any foot stiffness and pain while also improving stability in your daily tasks.
Humble Warrior
Humble Warrior returns to the double support
position seen in Warrior I and II.
This pose requires you to clasp your hands behind your back and bend forward as far as possible in the same position you’re in with Warrior II.
You achieve the same benefits with this exercise as you do with Warrior I and II, with the addition of some unique balance considerations.
Reverse Warrior
Reverse Warrior adds a side bend to the Warrior II pose.
From Warrior II, you’ll drop your backhand and raise your front hand to the ceiling. Then, you’ll bend backward (which will effectively be a side bend from this position), reaching your hand toward the back wall.
This move adds a lat stretch component to the previously discussed benefits of Warrior I and II.
Subscribe to My Newsletter
Fill your email below to subscribe to my newsletter
Comments (00)
Be the first to comment!
Leave a Reply
Your email address will not be published. Required fields are marked *
Related posts
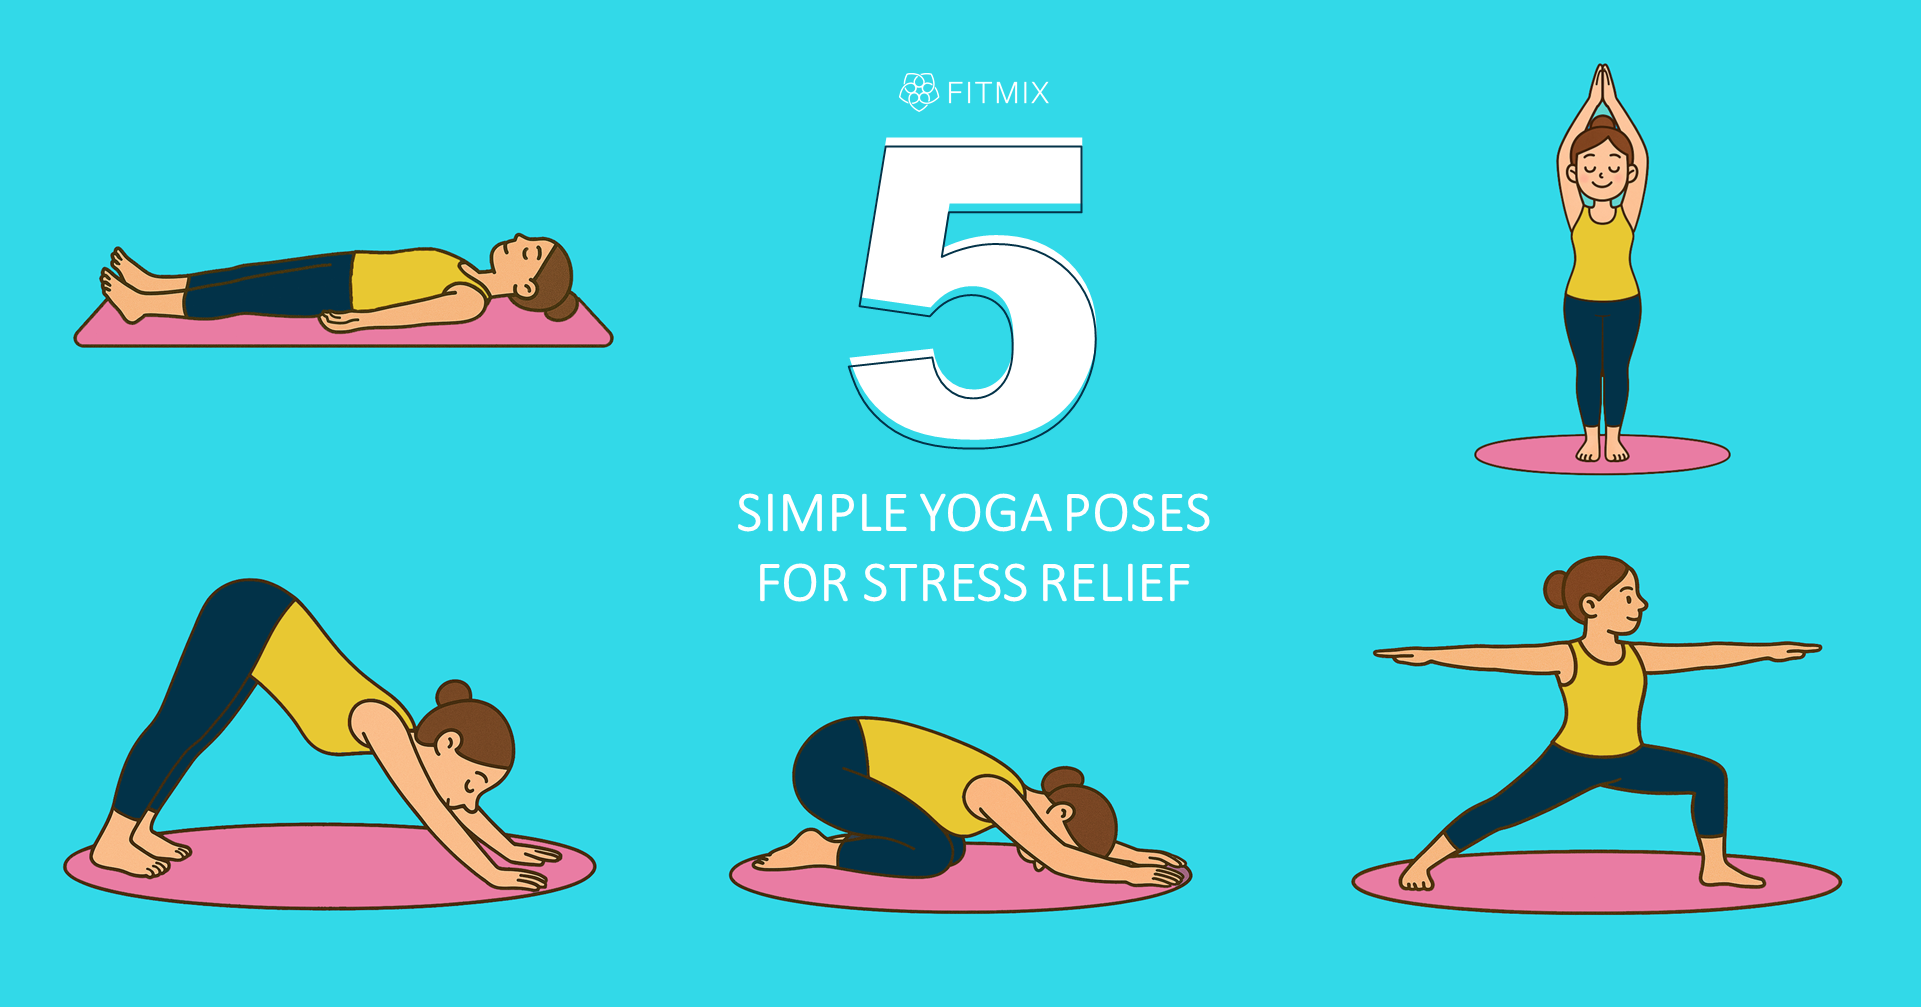
5 Simple Yoga Poses For Stress Relief
Apr 12, 2025

Holiday Stress-Busters
Dec 21, 2024
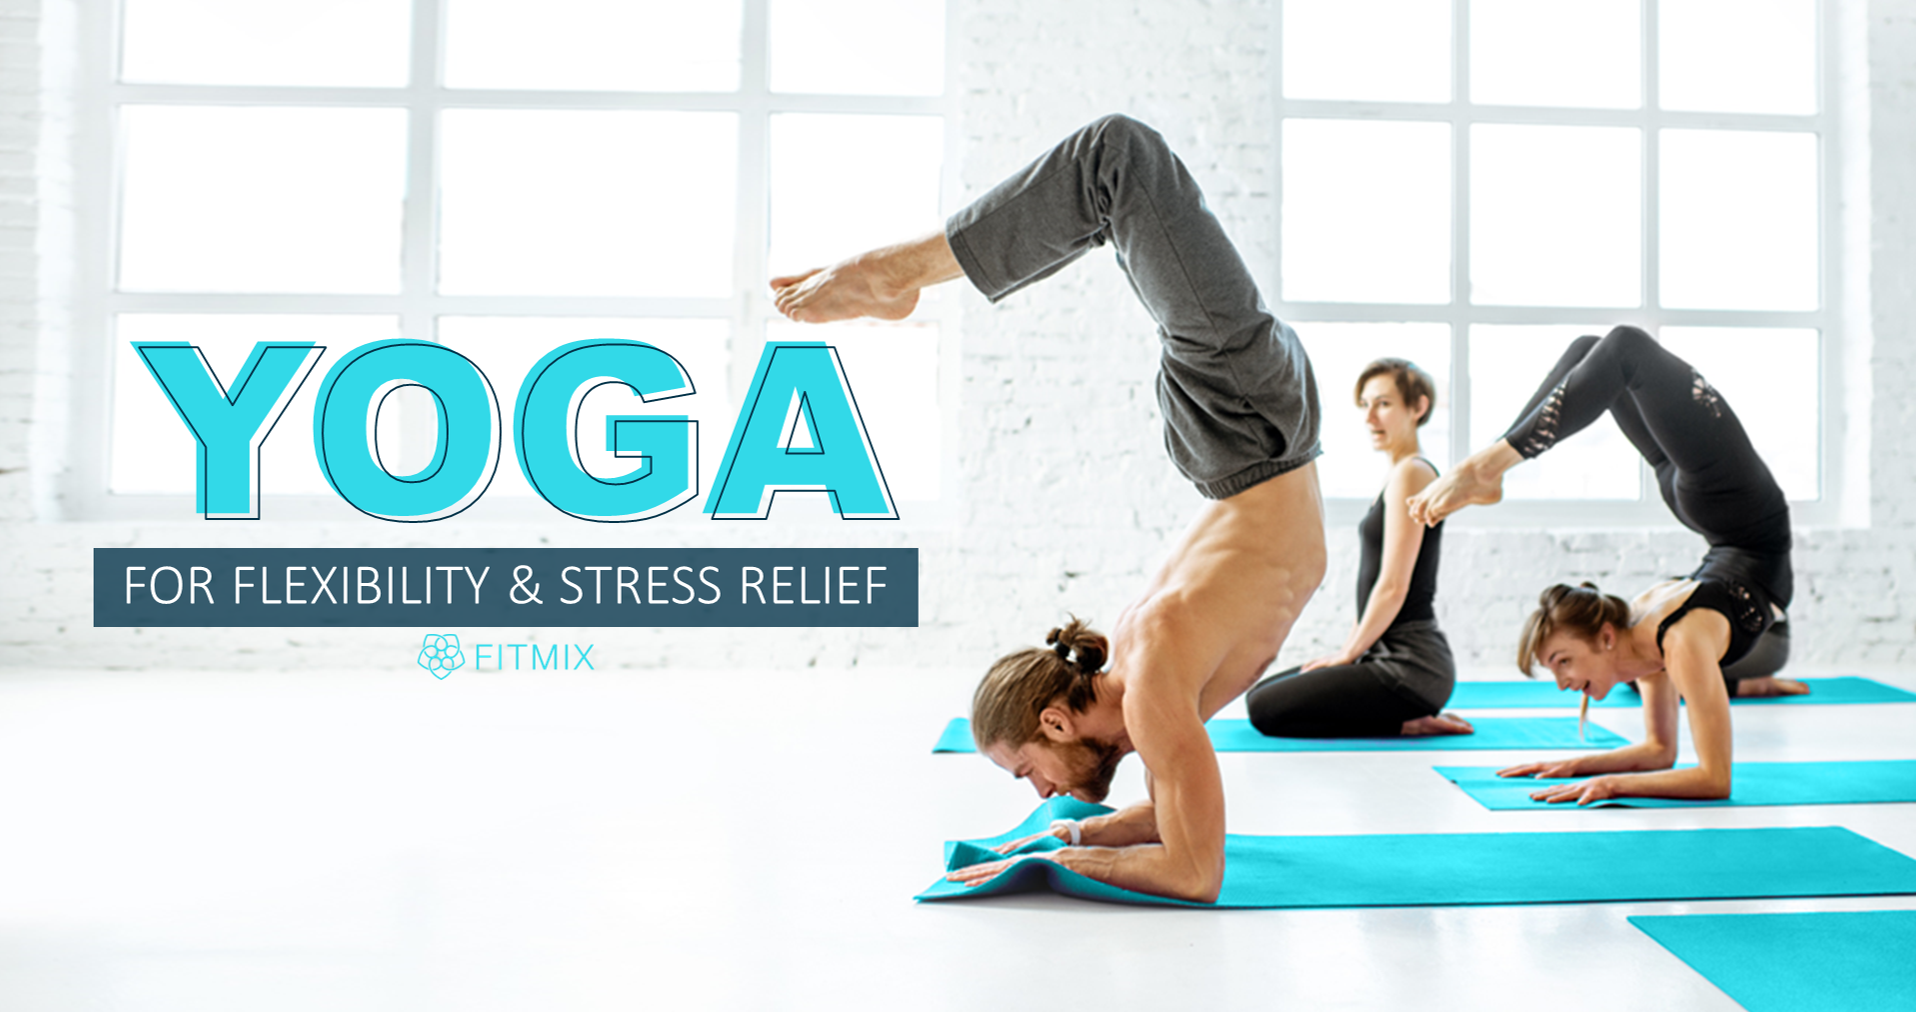
Yoga For Flexibility & Stress Relief
Jul 27, 2024

Fueling Your Body For Yoga
Mar 16, 2024